
Rebuilding the 2.25L Petrol Engine
- Nick Rumpff

- May 18, 2025
- 4 min read
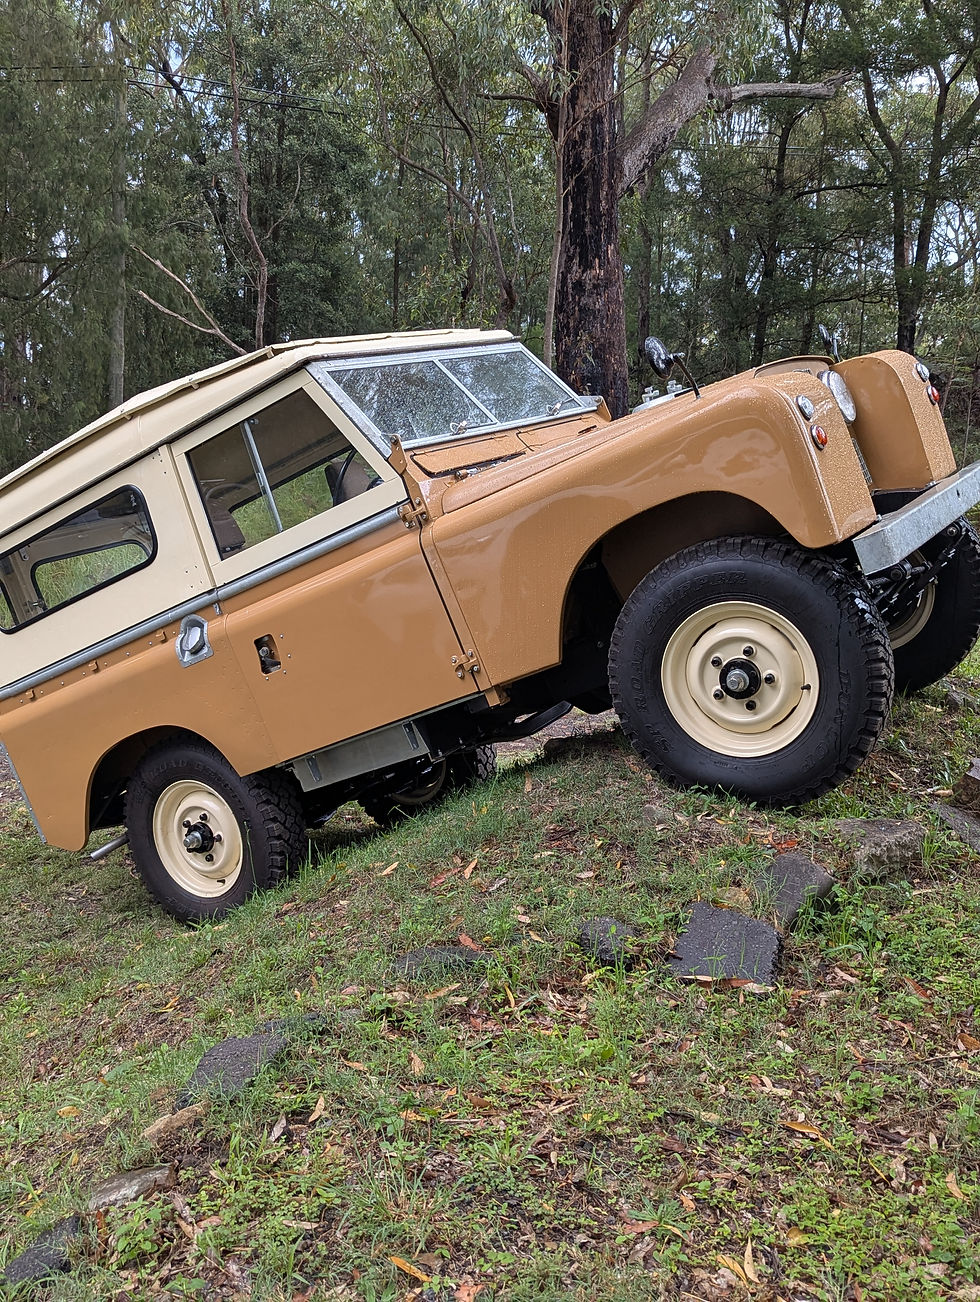
The 2.25L petrol engine in my 1964 Land Rover Series 2A hadn’t run in many years. Although it would turn over, the previous owner had never had it running. As part of a broader restoration, I committed to a full rebuild. While I’d worked on engines in my twenties, this was my first complete, start-to-finish engine restoration.

The 2.25L Petrol Engine: A Brief Overview
Land Rover introduced the 2.25L petrol engine in 1958 alongside the Series II. With its five-bearing crankshaft and OHV design, it became one of the marque’s most iconic and widely used engines, known for simplicity and durability. Power output was modest (approximately 70 hp), but the engine was designed for reliability and ease of maintenance in remote environments.
Despite its reputation for longevity, common wear issues include:
Cracked cylinder heads (especially between valve seats)
Worn camshafts
Leaking rear main seals
Oil leaks from rocker covers and sump
Poor fuel economy
Stretched timing chains
Distributor wear and carburettor inconsistencies
Disassembly and preparation for the rebuild
The engine was removed, stripped, and inspected. The cylinder head was cracked. They are getting increasingly hard to find but I managed to get a replacement from Land Rover Heaven in Goulburn. The camshaft was worn, not badly but worth replacing. A friend had a new old stock (NOS) unit in his shed. Both the block and head were sent for machining, including surfacing and valve seat work.


Reassembly and refinishing the engine
With machined parts returned, I assembled the engine using all new gaskets and seals. Components were cleaned or replaced as needed, and the engine was repainted in the original duck egg blue. I also cleaned and refinished the inlet and exhaust manifolds, using high-temperature paint on the outlet manifold cured in a BBQ — an effective and practical solution.


Rebuilding the starter motor and alternator
The original Lucas starter motor was sent out to be professionally reconditioned. I did weigh up installing a better starter motor. More modern options have higher cranking speeds and more power while drawing less power from the battery. One to revisit when I have put a few road KMs on the car.
The vehicle had previously been converted from a dynamo (generator) to an alternator, and rather than reverting it back, I chose to upgrade to a new alternator. It was a practical decision that prioritised reliability and electrical output while maintaining the appearance of a clean, period-correct engine bay. Given the demands of modern lighting and accessories, it was the right choice for regular use.
Replacing engine rear main T-Seals
Installing the T-shaped rubber rear main bearing seals proved to be one of the more difficult parts of the rebuild. These seals are notorious for being difficult to seat without tearing or folding. After a few failed attempts, we made a simple tapered drift tool to guide the seals into place. Even with the tool, it took patience.
Timing setup and distributor installation
Fitting the distributor drive gear and aligning the timing was another time-consuming task. Due to the helical cut of the gear, it rotates as it engages, often landing just off where it needs to be. Multiple attempts were needed to get the rotor pointing at the correct position on the compression stroke of cylinder.
Choosing the carburettor
One of the most debated topics in Series Land Rover restoration is the choice of carburettor. Over the years, several options have become common:
Zenith 36IV (Original equipment)
Pros: Period-correct, simple, easy to rebuild
Cons: Prone to warping, internal leaks, inconsistent fueling
Summary: OK if original and in good condition, but many are now tired
Stromberg CD 150
Pros: Popular in Australia, better fuel metering than Zenith
Cons: More complex, can suffer diaphragm issues and vacuum leaks
Summary: A step up from the Zenith but sensitive to wear
Solex 32 PBI
Pros: Factory-fitted on early Series IIA models, smooth throttle response
Cons: Obsolete, limited parts availability, harder to tune
Summary: Great if original and intact, but now rare and best suited to authenticity-focused restorations
Weber 34ICH
Pros: Reliable, consistent fuelling, widely available, good fuel economy
Cons: Requires adapter plate (if originally fitted with Solex); may need re-jetting at higher speeds or load
Summary: A popular modern replacement for daily use or touring builds


After comparing the available options and reading extensive feedback on forums, I chose the Weber 34ICH. It offered the right combination of reliability, ease of setup, and performance for a stock 2.25L engine. Opinions seemed to be widely varied but most people spoke positively of its cold-start behaviour and fuel efficiency — both important for the kind of driving I planned.
Engine start-up
After rechecking everything, I started the engine for the first time — and it fired immediately. Oil pressure was good, it idled smoothly, and it ran without hesitation. After months of effort, it was immensely satisfying to hear it running under its own power again.
Give it a go
This rebuild was a rewarding experience. Although certain elements — especially the T-seals, timing setup, and carburettor tuning — took more time and attention than expected, they were all manageable with preparation and advice. For others considering a similar project, the 2.25L engine is one of the most approachable classic engines to rebuild. The wide parts availability and strong support community make it an ideal first full engine project.


Comments