
Handmade Auxiliary Gauge Panel
- Nick Rumpff

- May 18, 2025
- 2 min read
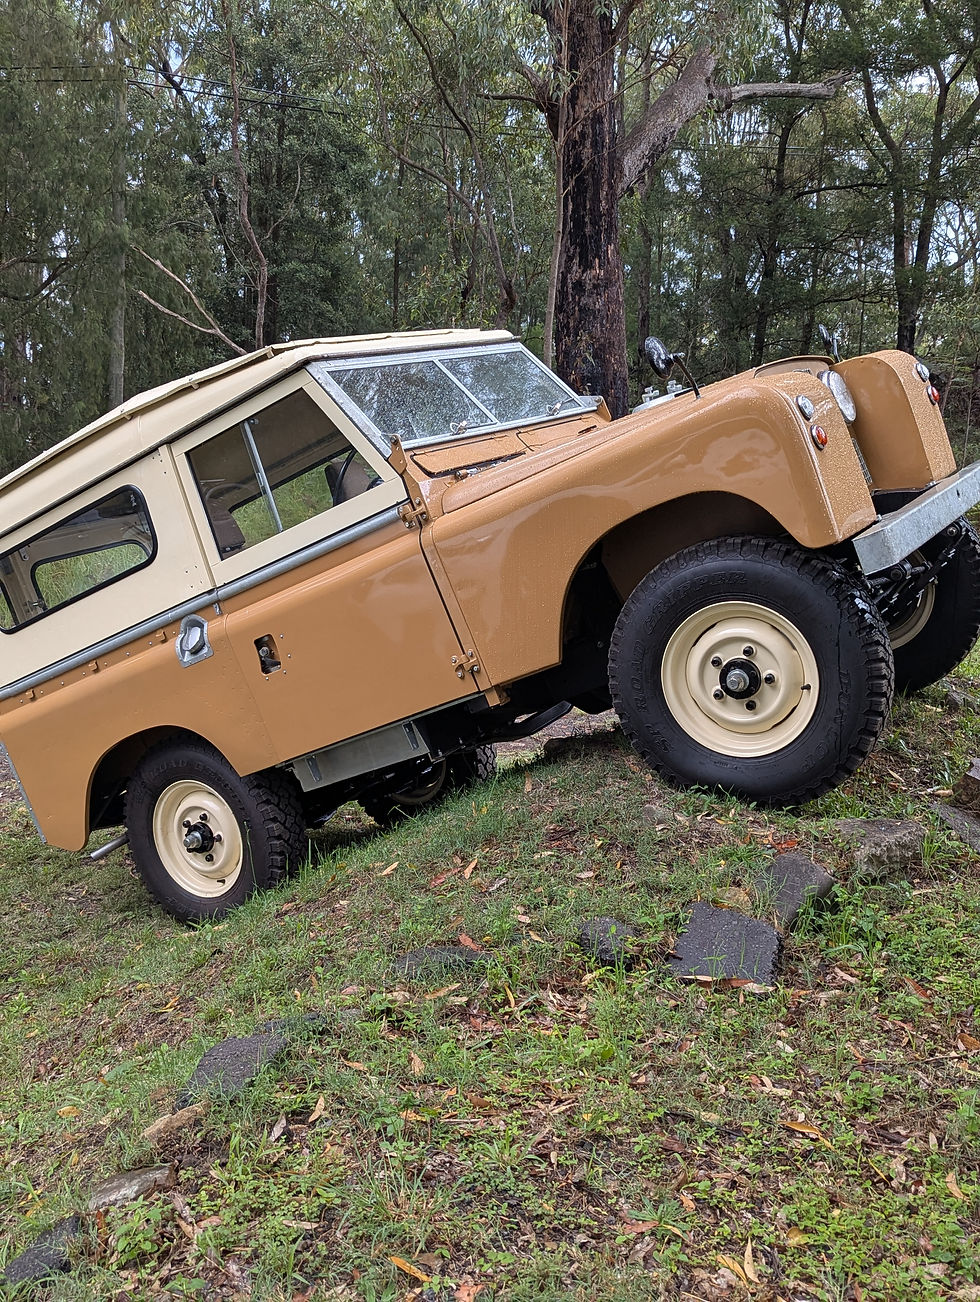
There’s something deeply satisfying about fixing up an old Land Rover. It’s not just about keeping it running—it’s about respecting the original design while adding your own fingerprint. That’s exactly what I set out to do when I decided to build a reproduction Auxiliary Gauge Panel for my Series 2 by hand.
For anyone that has sat in the drivers seat of a series Land Rover 2A will know that the dash and instruments are minimalist. The instruments don't offer much in terms of engine monitoring other than a light for low oil pressure and charge warning. To accomodate additional instruments Land Rover introduced auxiliary panel (part 5031470. The panel was originally designed to fit two Smith's guages and was mounted adjacent to the main dash panel.
Driving a car that is over 60 years old, being able to monitor oil pressure is critical to ensure that you can diagnose any faults befgore they become a major issue. T
Tracking down an original panel these days? Practically impossible. So I made one myself.
Starting from scratch
I began with a few reference photos, some forum threads, and measurements I pulled from an old parts manual. The original design is deceptively simple—essentially a small rectangular panel with rounded corners and edges, designed to mount beside the speedo cluster.
I used a sheet of 1.5mm aluminum. After tracing the dimensions I worked slowly with a hammer and small round pice of steel and a socket shaping the edges and rounding the corners by eye. Not perfect, but close enough to the original that it looked right at home on the dash.


Once shaped, I drilled out the hole for the guage, I gave it a quick sand and sprayed it with a 2K to match the rest of the dash. The finish came out better than expected—subtle and period-correct.
Next came fitting the gauges. I was given an original Land Rover combined oil pressure and water temperature gauge which I had restored by Lionel Otto Instruments in Queensland. They did a nice job cleaning up the gauge to work like new but keep some of its patina.

Mounting the panel was straightforward. I used the existing screw for the vent flap mechanism and drilled an extra hole at the bottom through the dash.
Why I Did It
I could have ordered a reproduction online, but there’s something about making it by hand that adds a different kind of value. It’s not just about function—although it works a treat—it’s about being part of the story. The vehicle’s history, and mine with it.
This little panel won’t win any awards. It’s not flashy. But it’s one of my favourite upgrades—useful, simple, and made with my own hands.
If you’ve got a free afternoon, I highly recommend giving it a go. The tools are basic. The materials are cheap. And the satisfaction? Off the charts.


Comments