
Land Rover Series 2A Brakes: a prick of a job
- Nick Rumpff

- Jun 9
- 5 min read
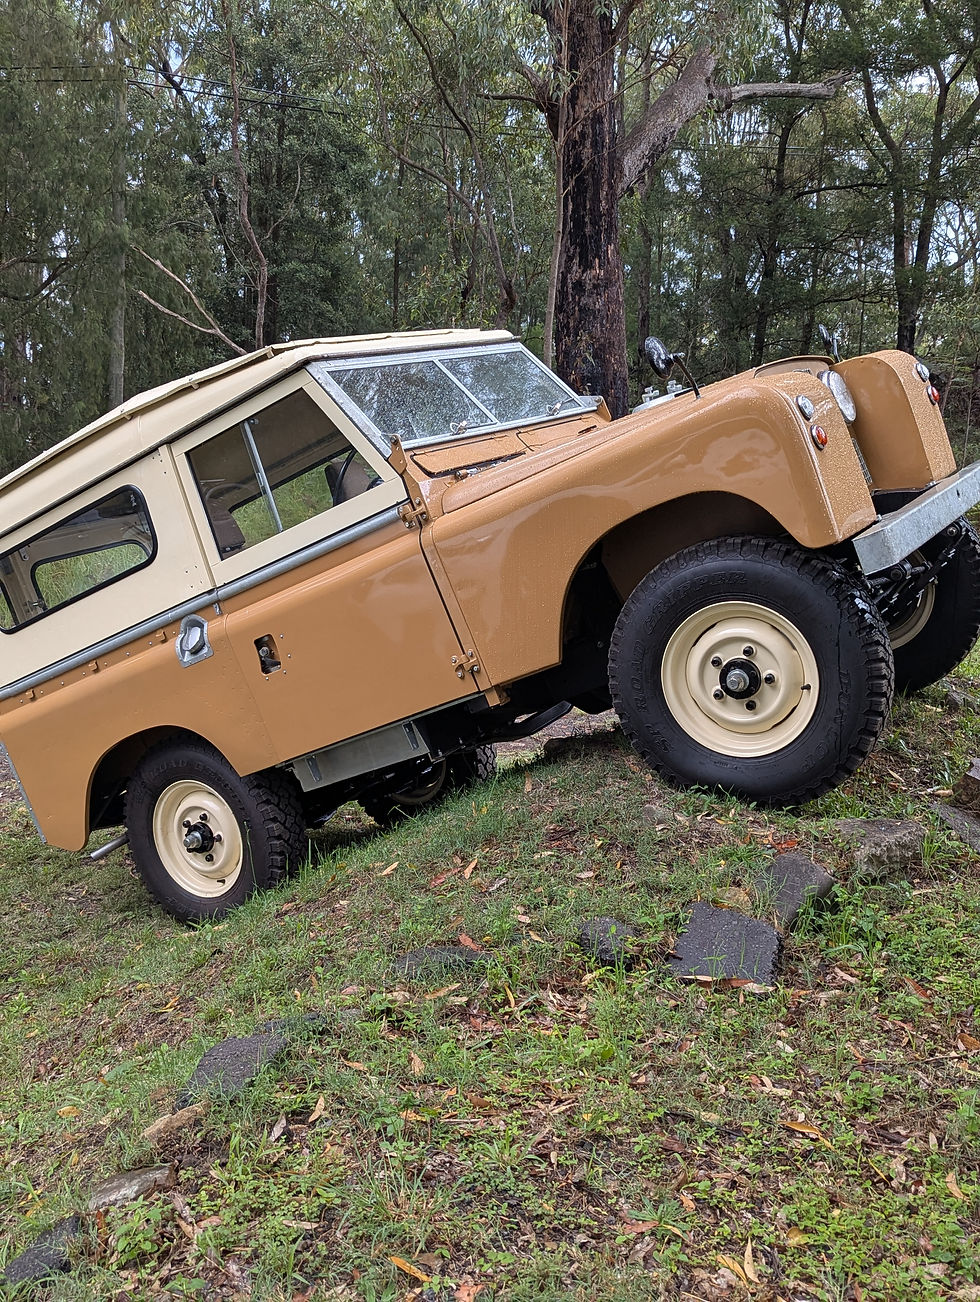
I'm an enthusiast. I tinkered with cars as a teenager and I like giving things a go, but this is my first full restoration. I read a lot, ask questions, and try to figure things out as I go. The brakes on my Series 2a restoration were one of the most challenging jobs I tackled. Not because they're complicated, but because every time I thought I'd solved it, something else wasn't right. Here's how it actually went (more pictures coming soon).
Before getting into it, the Series 2a braking system is pretty simple. Drum brakes all round, hydraulic, single circuit with one system running front and rear together. The upside is there's not much to it. The downside is there's no fail-safe. Lose a brake line and you lose all your brakes. I think that later series 2a and 3 Land Rovers moved to a split circuit with a vacuum booster, but on the early cars it's all one system.
Starting Point
I had no idea what condition anything was in, so I decided to replace everything: lines, master cylinder, wheel cylinders and shoes.
I started with the brake lines. When it comes to brake lines you have two options: steel or copper-nickel. Steel is more robust and probably better for a 4WD but it is harder to bend and you need special tools. Copper-nickel looks a bit more period can be hand-bent, doesn't rust, and is much more forgiving.
I purchased an Automec copper-nickel kit from a local Land Rover parts supplier, around $350. Everything comes pre-cut to length and labelled, which is really handy and saves a heap of time.
Keep your old brake lines as a bending template. I used sockets and spare bits of steel to match the original curves. It takes patience but getting the lines to sit neatly in the right place is one of the more satisfying parts of the job. I think that they came out really well.

Machining Drums and Shoes
The SWB 2a runs 10 inch drums, the LWB has 11 inch. The original drums can warp and wear unevenly over time, so I had them machined. I purchased new Britpart shoes and had them radiused to match the drums.
The shoes still needed quite a bit of work. I ended up trimming the metal ends that slot into the wheel cylinders to get them sitting correctly inside the drums.
I threw out my old shoes. With hindsight, I should have just had them relined, it would have save me a ton of time fiddling with the new ones. New aftermarket shoes apparently use a harder compound, you have to more trim them to fit, and take longer to bed in.
Wheel Cylinders
This is where I spent a lot of time going back and forth.
I'd read that for a SWB 2a, the fronts should be 1¼ inch and the rears 1 inch. The size difference puts more force through the front axle where you need it under braking. So that's what I fitted but after bleeding the brakes with the pedal depressed did not grab properly.
I clamped the front flex hoses to isolate the problem. The pedal became firm right away, indicating the issue was with the fronts. After further research and consideration, I opted to replace the front cylinders with 1-inch ones, matching the rears. I figured that since the 1-inch version requires less fluid to move the cylinder, it might engage the brakes more quickly.
It seemed to work better, so I guess that gave me the answer. There's genuine debate in the forums about correct sizing across different years and specs of the 2a. Maybe there are different master cylinder set ups, I am not sure, but 1 inch all round worked on mine.
The Master Cylinder
After changing the wheel cylinders and adjusting the snail cams I was still having issues with the brakes locking up after I pressed the pedal. I would test it in the garage, then as soon as I had it out on a test drive the brakes would bind. The only thing I hadn't replaced at that point was the master cylinder. I cracked the inlet pipe at the master cylinder and the pressure released immediately, which told me the fluid wasn't returning to the reservoir properly.
Even with new parts, next time I would bench test the master cylinder before installing it. Just push some air through it and make sure that as the cylinder returns the air is released properly. I replaced the master cylinder and that fixed it.
Bleeding and bleeding and bleeding
Series Land Rover brakes are notorious for being difficult to bleed and adjust. They have never been known for their stopping power either, so the bar isn't high.
I bled these brakes more times than I want to count. Standard two-person bleed, vacuum bleed, pressure bleed. An old Land Rover guy told me to stomp hard on the pedal repeatedly. I tried that too. The pedal was still spongy. It would work OK in the workshop then on a road test would go to the floor.
Each time I went back to the forums and kept reading. A few things I picked up that actually made a difference:
Adjust the snail cams before you bleed. Jack the car up, tighten the cam until the brakes grab, then back off one click so the wheel just turns. If the shoes are sitting away from the drum, the springs allow the wheel cylinders to pump air back into the lines during bleeding. Also worth knowing: snail cam adjustment isn't a one-time thing. After the first few drives you need to jack the car up again and re-check them. The shoes bed in and the adjustment changes.
Clamp the flex hoses and bleed in sections. Clamp all three hoses and check the pedal. If it goes solid, the master cylinder is fine and you're looking at one of the three sections. Unclamp and bleed one section at a time. This is more effective and tells you exactly where the air is.
Park it on a steep slope. I heard from a friend that restores classic cars that parking the car on a steep angle, nose up, for about a week lets any remaining air migrate to where it can be bled out. I was out of other ideas so I tried it. Believe it or not, the pedal came good.
Grabbing Brakes
Once the pedal was sorted, the brakes were still grabbing, particularly in reverse. Cham
fering the leading edges of the shoes helped reduce the initial bite. Careful snail cam adjustment made a real difference too. Small increments with the wheel jacked up to check for drag each time. The forums suggested some of this is also just the hard compound shoes bedding in over distance, which I'm still working through.
What I'd Do Differently
Keep the old shoes and get them relined rather than fitting new ones
Keep the old brake lines to use as templates for the new ones
Bench test the master cylinder before installing it
Adjust snail cams before the first bleed
On cylinder sizing, do your own research for your specific year. There's variation out there and the forums don't fully agree
Where Things Stand
The brakes work. The pedal is there, the car stops, and the grabbing is settling down. I've probably got a few hundred kilometers of bedding in and adjusting before I can say that they are working successfully.
It took longer than it should have and involved more wrong turns than I'd like. But I read a lot along the way and understood the system much better by the end.


Comments